ADAPEX-R100 Pro
よくある質問
1: Turn off the handle, pull out the R100 or press the pairing button to make the indicator light flash
2: Then follow the pairing method to connect
Not supported, only PS4 version of the game can be played on the PS5 console
1: Go to the main switch interface, click on the handle-change grip/sequence to enter the pairing interface
2: Insert the R100 into the USB port of the switch base, the indicator light flashes
3: Perform pairing according to the power-on pairing method of the respective handles
4: The handle will be automatically paired with the switch, press the L+R key, the handle icon will be displayed on the host, the handle and R100 indicator will always be on, the pairing is successful
1: Insert the R100 into the USB port of the computer, and the indicator light flashes;
2: Perform pairing according to the power-on pairing method of the respective handles
3: The handle and R100 indicator light are always on, press the HOME button, and the controller has been connected information is displayed on the host, then the connection is successful
1: Insert the R100 into the USB port of the computer, and the indicator light flashes
2: Perform pairing according to the power-on pairing method of the respective handles
3: The handle and R100 indicator light are always on,
(Win10) Press the handle HOME button to call out the XBOX game bar, then the connection is successful
Yes, you can check “Devices and Printers” in the computer system settings to test whether the connection is successful
Yes, but OTG adapter cable is required
No need, just press the HOME button of the handle to turn on the handle to connect
The handle is connected to each platform through R100, and it will be converted into the key value of the official layout of the connected platform
Take the PS4 connected to the PC as an example, the value of the button will be converted to the value according to the XBOX mode (Figure 1)
Figure 2 is the layout of the original handle
The handle is closed, the R100 indicator flashes, and then the handle is turned on to connect
No. Compared with the NS Pro handle and the PS handle, the XBOX handle has one less button. Therefore, the XBOX handle connected to the switch host has no screenshot function, and the PS handle does not have the touchpad function.
YES
YES
Yes, but there may be compatibility issues. It is recommended to upgrade to win10
Not supported
Xbox Series X|S / Xbox One X|S / Xbox Elite Series 2コントローラー
Xbox Series X|S / Xbox One X|S / Xbox Elite Series 2コントローラー
*Switchと接続する場合は、「設定>コントローラーとセンサー>Proコントローラーの有線通信」をオンにしてください。
a. R100 Proを対応デバイスのUSB端子に差し込んで、R100 Proのインジケーターが点滅すると、ペアリングモードに入ります。もう一度ペアリングボタンを押すると、ペアリングモードをリセットできます。
b. コントローラーのHOMEボタンを長押して、コントローラーの電源を切ります。
c. コントローラーをペアリングモードに調整:①HOMEボタンを長押して、コントロ ーラーを起動します。②PAIRボタンを2秒に長押して、インジケーターが速く点滅します。コントローラーのインジケーターが速く点滅すると、ペアリングモードになります。
d.自動ペアリングを待ち:R100 Proのインジケーターとコントローラーのインジケーターが点灯になり、ペアリング完了です。
e. コントローラーのHOMEボタンを押して、対応デバイスを正常にコントロールできると、接続完了です。
*最優のユーザー体験のために、再度接続の場合は、上記のステップに繰り返しすることを薦めます。XBOXシリーズコントローラーへのペアリングモードスピードは、再接続モードよりも速いです。
*コントローラーを元のXbox Series X | S / Xbox Oneと再接続したい場合は、公式の接続方法を参照して、再接続してください。
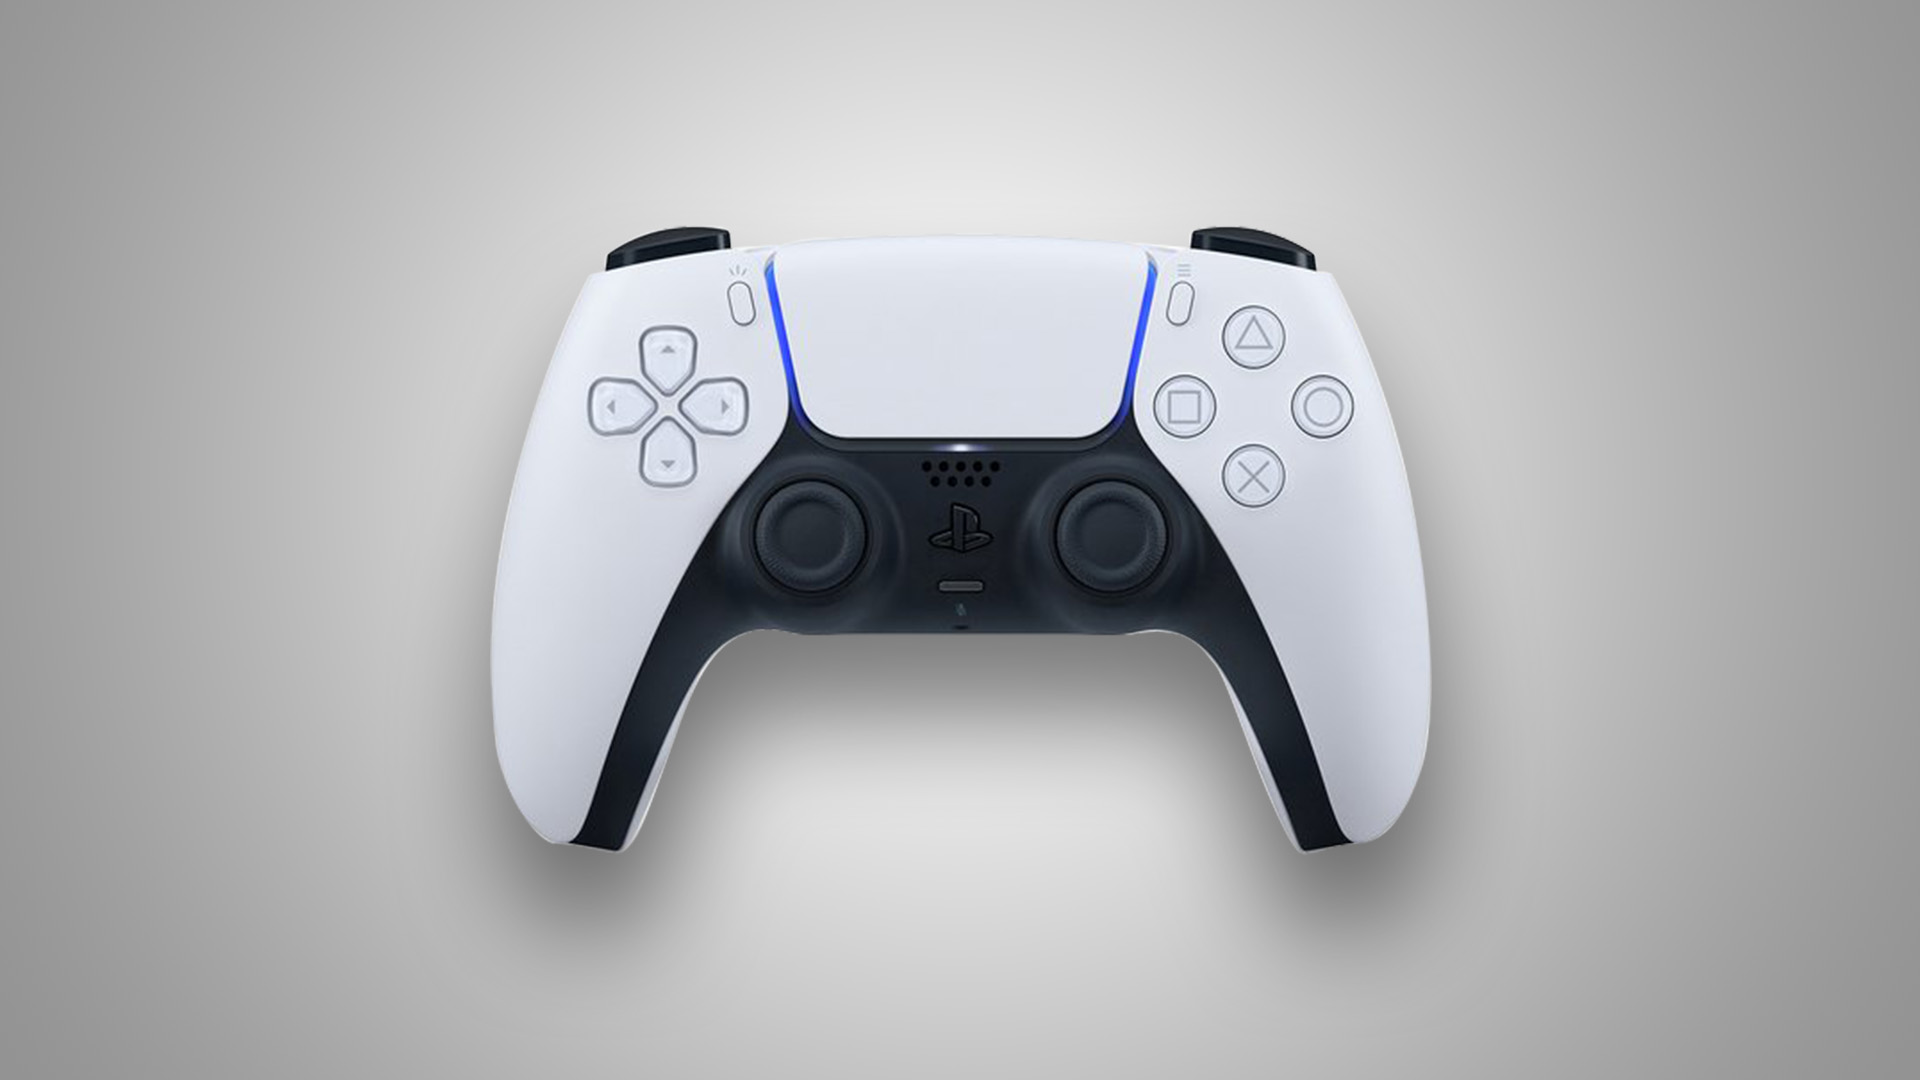
DualSenseコントローラー(PS5コントローラー)
DualSenseコントローラー(PS5コントローラー)
*Switchと接続する場合は、「設定>コントローラーとセンサー>Proコントローラーの有線通信」をオンにしてください。
a. R100 Proを対応デバイスのUSB端子に差し込んで、R100 Proのインジケータ ーが点滅すると、ペアリングモードになります。もう一度ペアリングボタンを押すると、ペアリングモードをリセットできます。
b. DualSenseのPSボタンを10秒に長押して、電源を切ります。
c. DualSenseをペアリングモードに調整:CREATEボタンを押してから、PSボタンを同時に5秒に長押して、DualSenseのインジケーターが青色で速く2回点滅すると、ペアリングモードになります。
d. 自動ペアリングを待ち:R100 ProのインジケーターとDualSenseのインジケーター(青色)が点灯になり、ペアリング完了です。
e. DualSenseのPSボタンを押して、対応デバイスを正常にコントロールできると、接続完了です。
*最優のユーザー体験のために、再度接続の場合は、上記のステップに繰り返しすることを薦めます。XBOXシリーズコントローラーへのペアリングモードスピードは、再接続モードよりも速いです。
*DualSenseを元のPS5と再接続したい場合は、公式の接続方法を参照して、再接続してください。
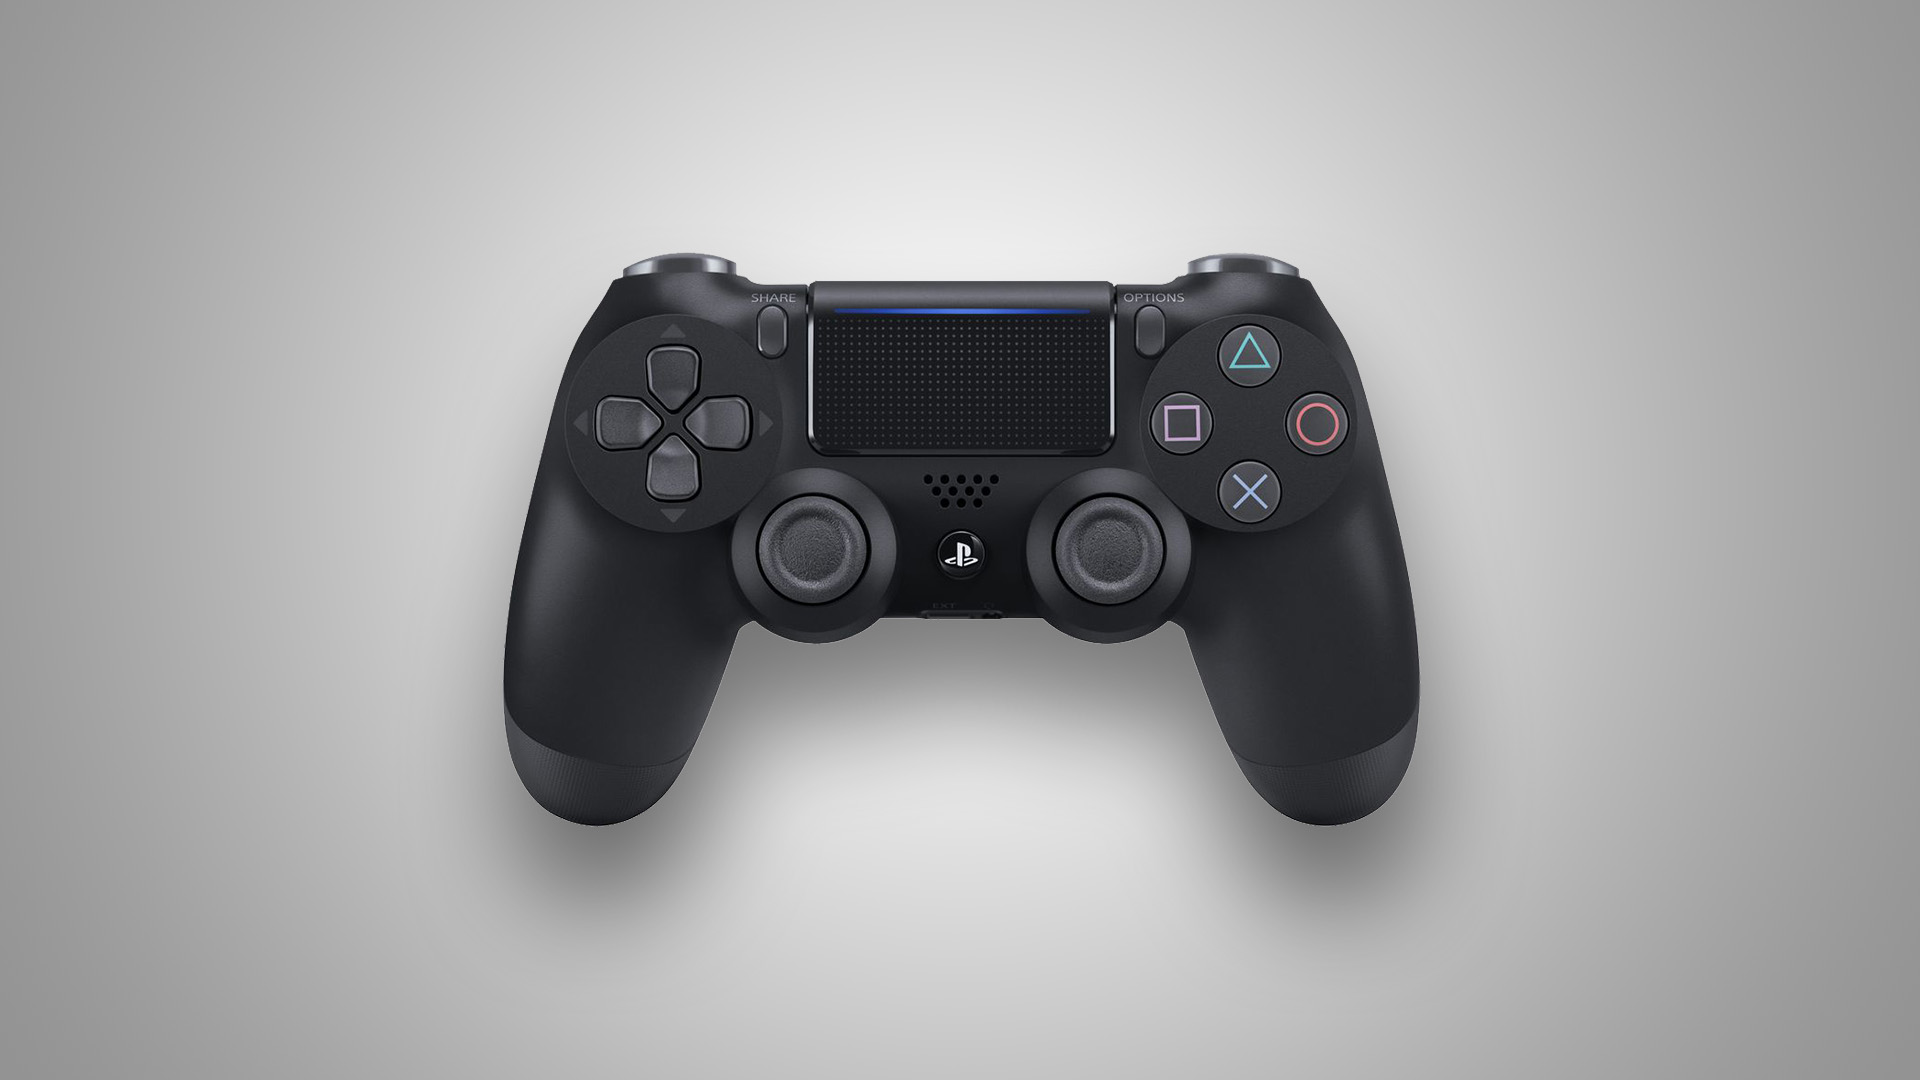
DualShockコントローラー(PS4コントローラー)
DualShockコントローラー(PS4コントローラー)
*Switchと接続する場合は、「設定>コントローラーとセンサー>Proコントローラーの有線通信」をオンにしてください。
a. R100 Proを対応デバイスのUSB端子に差し込んで、R100 Proのインジケーターが点滅すると、ペアリングモードになります。もう一度ペアリングボタンを押すると、ペアリングモードをリセットできます。
b. DualShockのPSボタンを10秒に長押して、電源を切ります。
c. DualShockをペアリングモードに調整:SHAREボタンを押してから、PSボタンを同時に3秒に長押して、DualShockのインジケーターが白色で速く2回点滅すると、すぐボタンを離します。ペアリングモードになります。
d. 自動ペアリングを待ち:R100 ProのインジケーターとDualShockのインジケーター(パープル色)が点灯になり、ペアリング完了です。(イインジケーターが白色で点灯する場合は、再度ステップa~dを繰り返してください。)
e. DualShockのPSボタンを押して、対応デバイスを正常にコントロールできると、接続完了です。
*最優のユーザー体験のために、再度接続の場合は、上記のステップに繰り返しすることを薦めます。XBOXシリーズコントローラーへのペアリングモードスピードは、再接続モードよりも速いです。
*DualShockを元のPS4と再接続したい場合は、公式の接続方法を参照して、再接続してください。
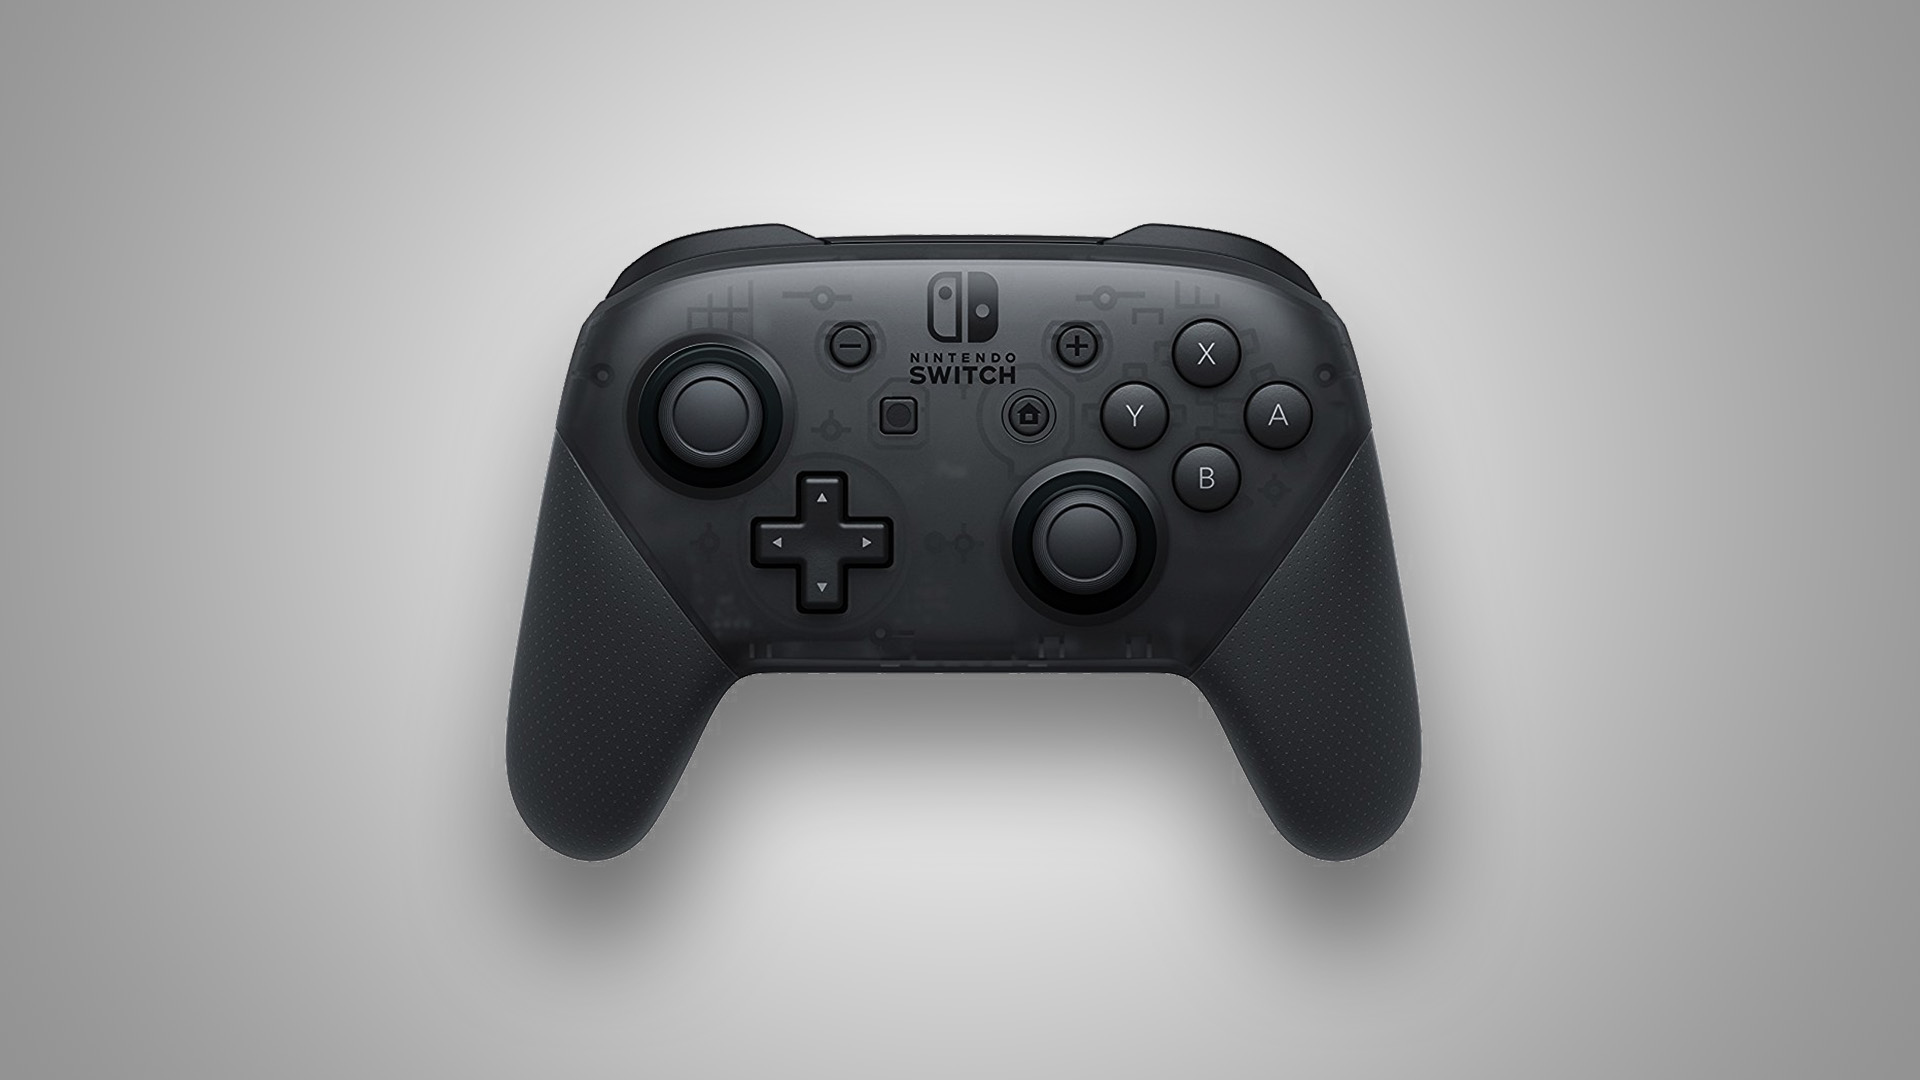
Switch Proコントローラー
Switch Proコントローラー
a. R100 Proを対応デバイスのUSB端子に差し込んで、R100 Proのインジケーターが点滅すると、ペアリングモードになります。もう一度ペアリングボタンを押すると、ペアリングモードをリセットできます。
b. Switch ProのPAIRボタンを押して、電源を切ります。
c. Switch Proをペアリングモードに調整:PAIRボタンを3秒に長押して、インジケーターが速い循環点滅すると、ペアリングモードになります。
d. 自動ペアリングを待ち:R100 ProのインジケーターとSwitch Proのインジケーターが点灯になり、対応デバイスを正常にコントロールできると、接続完了です。
e. Switch ProのHOMEボタンを押して、対応デバイスを正常にコントロールできると、接続完了です。
*最優のユーザー体験のために、再度接続の場合は、上記のステップに繰り返しすることを薦めます。XBOXシリーズコントローラーへのペアリングモードスピードは、再接続モードよりも速いです。
*元のSwitchと再接続したい場合は、公式の接続方法を参照して、再接続してください。


